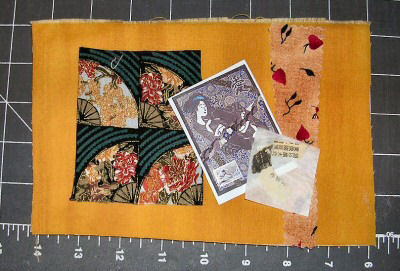
1. Start with stabilizer (Timtex, Fast2Fuse, or other stabilizer) cut to at least 6 ½" x 4 ½" (or even 7" x 5").
2. Prepare the background for your postcard front. It can be whole cloth or pieced. Cut it slightly larger than your stabilizer and fuse or sew it to the stabilizer.

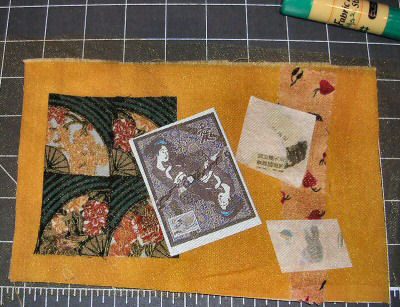
3. Add decorative elements. You can fuse shapes or sprinkle snips of fabric, fussy cuts, ribbon, fibers, even paper etc. (Tulle is optional but useful to hold down these elements if you choose not to fuse.) You can embroider, rubber-stamp, paint, or even add small beads.

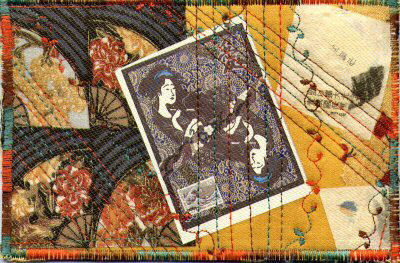
4. Using decorative thread in the machine and a light or invisible thread in your bobbin, quilt your postcard using the stitch(es) of your choice.
5. Cut a piece of heavy white or natural muslin (or any light colored fabric) slight larger than your postcard and fuse it on the other side of the stabilizer.
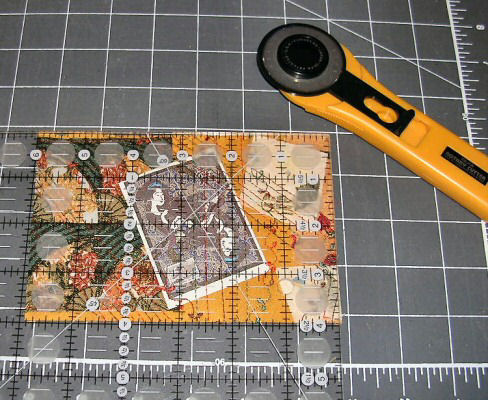
6. Using a rotary cutter and ruler, trim the postcard to 4" x 6".

7. Finish the raw edges with a satin stitch, zigzag or add binding. Remember to use matching or coordinating bobbin thread. (You can also use a serger to finish the edges.)

Method #2 – Quilt first, then creating the postcard.
1. Assemble your postcard front on thin batting or fleece as described in step 3. (Hint: use fusible batting if you are using Timtex).
2. Quilt as described above in step 4.
3. Cut a piece of stabilizer 4" x 6" and fuse or sew your front to it.
4. Trim your postcard front flush with the stabilizer.
Continue steps 5-7 as described above.
Another Idea: Create a series!
Start with a larger design (say 7" x 14") and using either method create 4 (or more) postcards at once. As you cut your design into sections, each one will amaze you.
For inspiration, visit the hundreds of postcards donated to Fiberart For A
Cause to raise funds for the American Cancer Society:
CLICK HERE!


