| |
| |
|

 Click HERE for What's New! Click HERE for What's New!
|
|
|
|
Cloth Doll Patterns, Book and Free Patterns by
An introduction to Pamela Hastings by Pamela Hastings...
About my doll making:
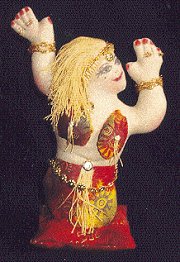
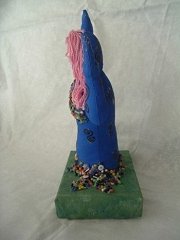
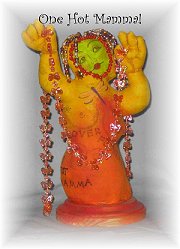
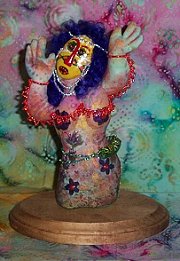
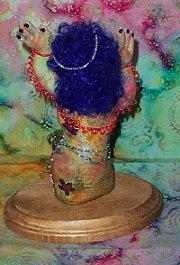
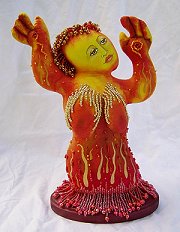
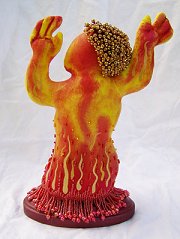
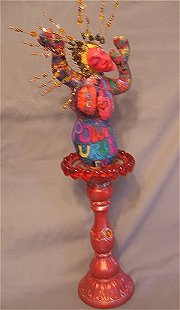
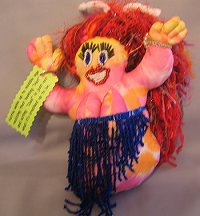
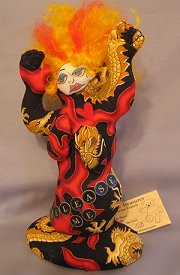
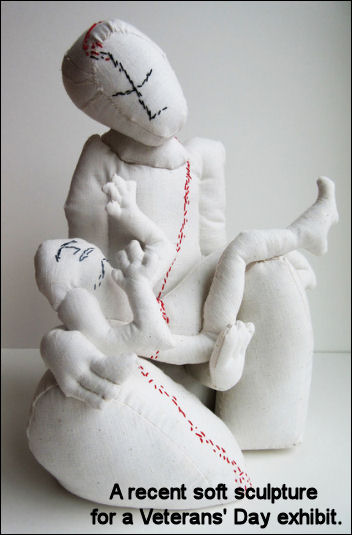 My grandmother taught me to sew when I was five and made my first doll. Like most, I started with costume dolls, but then discovered Lenore Davis and Soft Sculpture in the Sixties. My work since then has been sculpture and art-based, rather than realism-based. My grandmother taught me to sew when I was five and made my first doll. Like most, I started with costume dolls, but then discovered Lenore Davis and Soft Sculpture in the Sixties. My work since then has been sculpture and art-based, rather than realism-based.
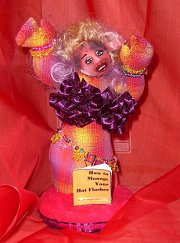
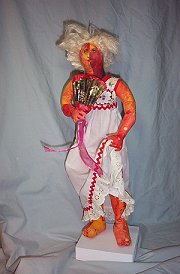
By disregarding "pretty" and "realistic" my designs can express a lot of emotion and fun without being technically difficult to make. My personal work can get more elaborate and has been shown in art galleries in the US and abroad.
I enjoy working with women and helping them to recognize their own creativity, encouraging jumping off from the pattern. I've written and taught about using the process of doll making as a way to transform one's life. In that way, my patterns move way beyond "toys" or "cute" and at the same time the unusual colors and shapes are just a lot of FUN.
Best,
Pamela
|
|
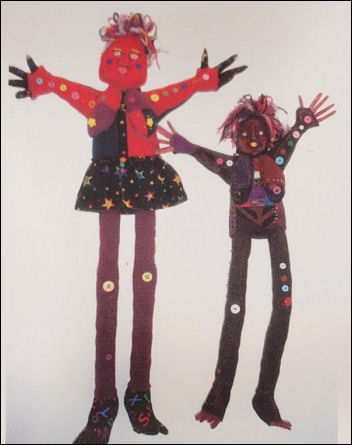
Big Fleece
Use polar fleece and large print scraps to create a soft 24" or 36" doll with individual fingers and toes. The body can be a canvas for primitive embroidery and affirmations, buttons and charms.
Click HERE to View/Print Supply List!
|
Free Patterns
|
New Design...
by
Pamela Hastings
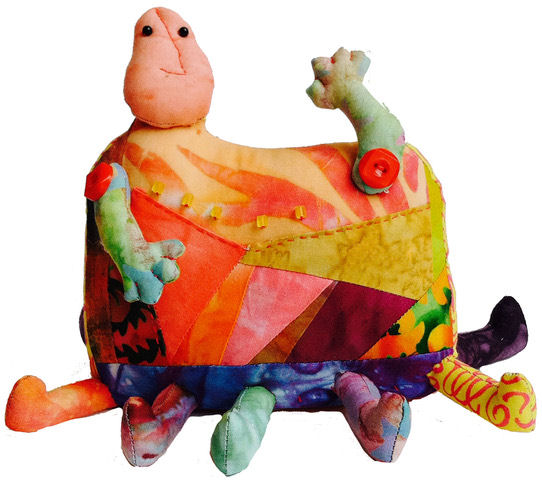
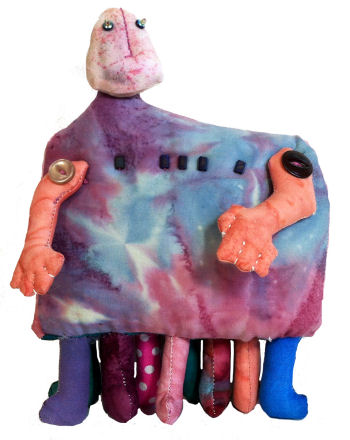 Multi-Legged Doll… Multi-Legged Doll…
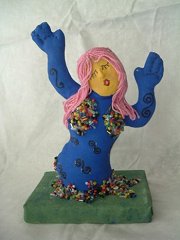
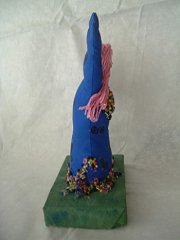
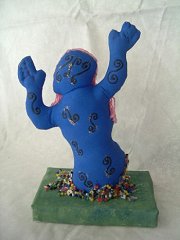
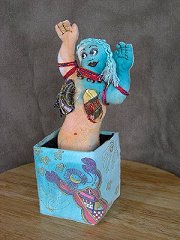
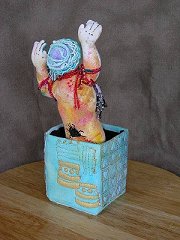
This is a simple doll, pictured sitting (above) and standing (right). With the pattern, the few instructions below and your creativity, this unique doll will transform into your own creation!
Click HERE to print Pattern.
General Directions: The triangular gusset goes into the end closest to the head. the bottom gusset should have a stiff cardboard insert, with an added weight inside (3 large washers) for the sitting version. Cut as many legs as needed and leave the top end open. Sew to the bottom base for standing, and around the sides for sitting. Trace around the pattern pieces and sew on the traced line, leave an opening, turn and stuff.
|
|
|
by
Pamela Hastings
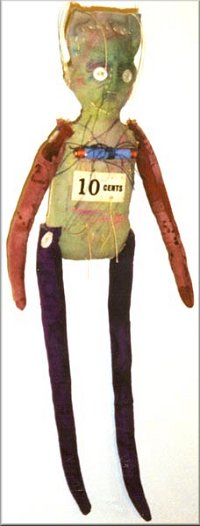
This
Quirky Guy is quick and easy, but can be finished and embellished
in all kinds of ways. Use a photo transfer on the face, needle
modeling, embroidery or button eyes. The body can be dyed,
pieced, stamped or collaged. Add a 1/8" to ¼"
seam allowance and leave the ends of the arms and legs open,
also the top of the head. Things can be sticking out of the
openings. Join the limbs to the body with buttons, so he can
sit or put a hanging loop on the back of the head. The possibilities
are endless!
Click HERE to print Pattern.
|
|
|
|
by
Pamela Hastings
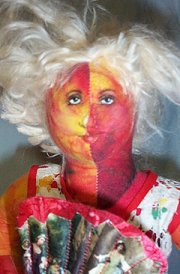
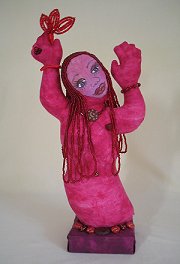
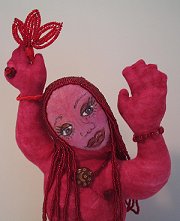
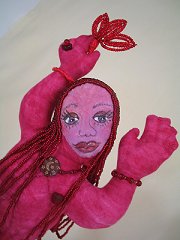
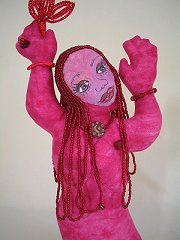
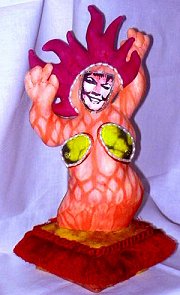
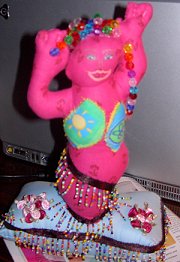
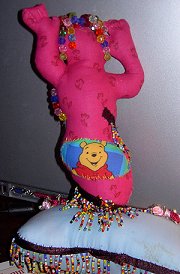
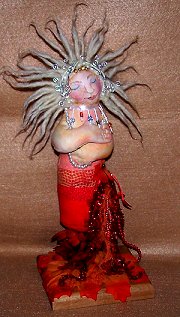
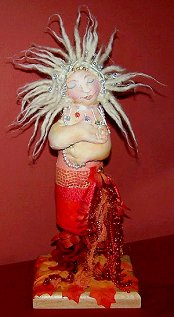
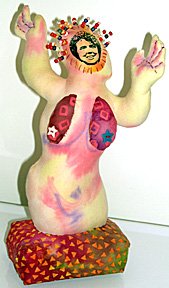
For the sample doll Pamela used an iron-on photo transfer of her face, Tsukineko All-Purpose Inks and Fabrico pens for the body. The base is a scrap piece of 2 x 4, covered with a piece of thin quilt batting and batik. The doll is ladder stitched to the base in order to have enough weight to stand up. The body could be made of batik, and dressed in a costume. Hair could be almost anything. The sky's the limit for embellishing this work of art!
Click HERE to print Pattern (PDF.) |
|
|
Back to... Pattern
Index Page
|
|
Have
you signed up for our yet?
Subscribe to receive News and Updates
from Dollmaker's Journey!
|
|
|
|


 My grandmother taught me to sew when I was five and made my first doll. Like most, I started with costume dolls, but then discovered Lenore Davis and Soft Sculpture in the Sixties. My work since then has been sculpture and art-based, rather than realism-based.

 Multi-Legged Doll…

