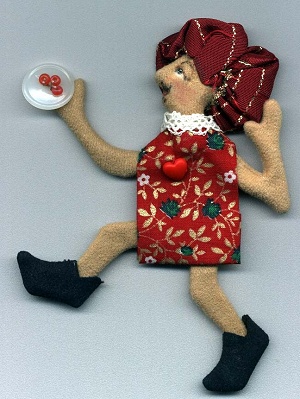
Supplies: Head, arms and legs:Directions: Glue all of the pattern pieces onto the manila folder or tag board (Click HERE for Pattern).These are your templates and you will be tracing around each piece onto your doubled fabric. Stitch directly on the drawn line. Leave open where indicated on the pattern. Gather together your flesh toned fabrics and place them with RST. Trace around each pattern piece onto the wrong side of the fabric. (Set aside the shoe pattern for now.) Leave 1/2" between pieces. Place felt on the bottom of the doubled fabric. Set your machine to sew a tiny stitch (15-20 for an American machine, 1.5 for a European.) Sew through all 3 layers. Cut out each piece leaving between a 1/8" and 1/4" seam allowance. Turn RSO by inserting your turning tool between the 2 layers of flesh toned fabrics. Sew the openings closed on the arms after they have been turned. Set aside the arms and legs for later. They will not be stuffed any further. The Head: Firmly stuff the head to within 1/2 " of the bottom of the neck opening. Select a hand sewing needle that is strong enough to do a bit of sculpting with but thin enough to be able to go through the seed beads. Thread the needle with doubled quilting thread. Knot the end. Begin the sculpting at the back of the head following the diagrams (Click HERE for diagrams). Be sure to take a small stitch on the face side of the head and exit out the back each time you take a sculpting stitch. Continue with the diagrams to color the face. The Body: Cut a strip of fabric 3-1/4" wide X 6-1/2" Long. Fold the 3-1/4" side in half. Take a 1/4" wide seam down the 6-1/2" side. Press the center seam open and turn RSO. With the seam on the outside, match the short ends together. If you think of the body as looking like a flow thru tea bag the body will be very easy to do. Follow the diagrams (Click HERE for diagrams) for the measurements and final assembly of the body. Karen Shifton 2001 All rights reserved.
Please CLICK HERE (http://dollmakersjourney.com/shifton.html) to view doll patterns by Karen Shifton. Go to... Dollmaker's Journey A Doll Net Member Site by the Internet Visions Company. |